Master Anti-Soggy Taco Dip: Secrets to Firm, Perfect Layers
Imagine the scene: a vibrant, multi-layered taco dip, a true showstopper at any gathering. You plunge a sturdy tortilla chip into its depths, anticipating a delightful medley of flavors and textures, only to pull back a soggy, watery mess. We’ve all been there – staring down a "weeping" dip that resembles soup more than a snack. This common culinary mishap can be disheartening, especially when you’ve put effort into creating a crowd-pleasing appetizer.
But what if there was a way to guarantee a taco dip that remains firm, fresh, and structurally sound for hours, offering a clean, creamy break with every single scoop? The secret to a professional-grade appetizer isn't just about the spices or the toppings; it’s rooted in smart moisture management and an "Anti-Soggy Bottom" philosophy. By understanding the physics of layering and the role of each ingredient, you can create a masterpiece that stays impressively delicious from the first dip to the very last bite. This guide will reveal the essential strategies to ensure your taco dip is not just tasty, but structurally perfect, making you the undisputed champion of party snacks.
The Core Problem: Why Taco Dip Gets Soggy
The nemesis of any perfectly layered dip is moisture migration. This fancy term simply refers to the unwelcome journey of liquid from wetter ingredients (like salsa or cooked meat) down into the creamy, dairy-based foundation. When moisture seeps down, it breaks down the delicate emulsion of your cream cheese and sour cream base, turning what should be a firm, cohesive layer into a watery, separated puddle.
Most traditional recipes unwittingly contribute to this problem by overlooking key principles of culinary engineering. Building a layered dip is much like constructing a small building; it requires a solid, impermeable foundation that can support the weight of the "floors" above it without buckling or leaking. Without proper preparation and layering techniques, the liquid from the top layers will inevitably compromise the integrity of the base, leading to that dreaded soggy outcome.
Another critical factor is temperature control. If you take away nothing else from this article, remember this golden rule: *adding warm ingredients to a cold dairy base is the fastest way to ruin your dip's texture.* Heat causes fats in dairy to separate and emulsions to break, leading to a much looser, more liquid consistency. By ensuring every component is at room temperature or cooler before assembly, you maintain the "set" of your cream cheese and sour cream, providing the necessary friction and stability to hold those delicious, heavier toppings in place.
Ingredient density also plays a massive role. To achieve a dip that stays firm and impressive for several hours on a buffet table, you must prioritize thick, bound layers over loose, watery ones. This requires a bit more patience during the prep phase, but the reward is a dip that holds its shape so well, you could almost slice into it!
Engineering Excellence: Building Your Anti-Soggy Taco Dip Foundation
Creating a truly firm and flavorful taco dip begins long before assembly. It starts with a mindful approach to ingredient selection and meticulous preparation, ensuring each component contributes to the dip’s structural integrity rather than detracting from it.
Selecting Your Ingredients Wisely
Your shopping list is your first line of defense against a soggy dip. Make smart choices at the grocery store to set yourself up for success:
* **Lean Ground Beef:** While fat equals flavor in a burger, in a layered dip, excess grease becomes an orange oil slick that pools at the bottom of your dish. Opt for the leanest ground beef available, ideally 90/10 or 93/7. This minimizes the amount of grease you'll need to drain, reducing a significant source of unwanted moisture.
* **Full-Fat Dairy:** For the best results, reach for full-fat cream cheese and sour cream. While low-fat versions might seem appealing for health reasons, they lack the saturated fat content needed to provide structural "set" when mixed. You want a base that feels heavy, rich, and substantial, not airy or whipped, as this density contributes directly to its ability to hold layers firm. For an even firmer foundation, consider using brick-style cream cheese rather than whipped varieties.
* **Block Cheese:** Always grate your own cheese from a block, like sharp cheddar or Monterey Jack. Pre-shredded varieties contain cellulose or other anti-caking agents that can give them a slightly grainy texture and prevent them from melting as smoothly or binding as effectively. Freshly grated cheese offers superior flavor and texture, and it contributes to a more cohesive layer.
* **Quality Salsa:** Choose a thicker, chunkier salsa with less visible liquid. If your favorite salsa is on the runnier side, take an extra step: drain it well in a fine-mesh sieve for at least 15-20 minutes, pressing gently to remove excess liquid. This simple step can dramatically reduce moisture migration.
Temperature is Key: The Golden Rule of Assembly
As mentioned, temperature control is paramount. Neglecting this step is a common pitfall that can sabotage your efforts.
* **Room Temperature or Cooler for All Layers:** Before assembly, *every single component* – from your cooked ground beef to your cream cheese base and even your salsa – must be at room temperature or cooler. Never, ever add warm meat directly onto a cold dairy layer.
* **The Science Explained:** When warm ingredients hit cold dairy, the change in temperature causes the fat molecules in the cream cheese and sour cream to separate from the water molecules. This breaks the emulsion that gives the dairy its smooth, thick texture, turning it into a runny, separated mess. By ensuring all layers are cool, you maintain the "set" of the cream cheese, which acts as a robust, non-leaking barrier, providing the necessary stability for the entire dip. Plan ahead and allow cooked meats to cool completely in the refrigerator, and let your cream cheese soften just enough to be mixable, but not warm.
Layering for Lasting Perfection: A Step-by-Step Guide
With your ingredients carefully chosen and prepped, it's time to assemble your structural marvel. The order and method of layering are crucial for an anti-soggy outcome.
Prepping Each Component for Maximum Stability
Before you even think about stacking, ensure each element is in its prime, moisture-controlled state:
* **Ground Beef:** After browning your lean ground beef with your favorite taco seasoning, drain it meticulously. Use a paper towel to blot any remaining grease from the pan before transferring the meat to a bowl. Let it cool completely in the refrigerator – ideally for at least an hour, or even overnight. *This step cannot be skipped.*
* **Cream Cheese Base:** Allow your full-fat cream cheese to soften slightly at room temperature (just enough to be pliable, not warm or melty). In a bowl, combine it with full-fat sour cream and a generous amount of taco seasoning. Mix until perfectly smooth and lump-free. For an extra layer of flavor and structure, you can add a touch of fresh lime juice and finely minced garlic to this base.
* **Salsa:** If you haven’t already, drain your salsa thoroughly. Press out as much liquid as possible. You want chunky, flavorful solids, not a watery sauce.
* **Refried or Black Beans (Optional but Recommended):** A layer of refried beans or mashed, seasoned black beans can act as an excellent buffer. They are dense and relatively dry, creating an additional barrier against moisture from above. Season them well with cumin, chili powder, and a touch of salt. Ensure they are also cooled.
* **Fresh Toppings:** Items like shredded lettuce, diced tomatoes, sliced black olives, and chopped jalapeños should be added *just before serving*. These ingredients introduce significant moisture, and adding them too early will guarantee sogginess. If using tomatoes, scoop out the seeds and watery pulp before dicing.
The Art of Assembly: Building Layer by Layer
Now, let’s construct your masterpiece:
1.
The Foundation (Cream Cheese Base): Spread your seasoned cream cheese and sour cream mixture evenly across the bottom of your serving dish. This layer is your "concrete slab" – it needs to be firm, consistent, and completely cover the bottom. A sturdy
easy cream cheese taco dip recipe often highlights this crucial first layer.
2.
The Buffer (Beans/Meat): Next, if using, spread your cooled, seasoned refried beans or mashed black beans. Their density provides a natural barrier. If not using beans, gently spread your completely cooled, well-drained ground beef over the cream cheese layer. Ensure it’s an even layer, but don't press down too hard.
3.
The Flavor Enhancer (Salsa): Carefully spoon your well-drained salsa over the beef or bean layer. Distribute it evenly, taking care not to disturb the layers below. The goal here is flavor without excessive moisture.
4.
The Protective Blanket (Cheese): Sprinkle a generous layer of freshly grated cheese over the salsa. This cheese layer acts as a partial barrier, helping to prevent any remaining moisture from the salsa from seeping too quickly into the lower layers.
5.
The Chill Down: At this point, you can cover and refrigerate your taco dip for a few hours, or even overnight. This allows the flavors to meld and the layers to set even more firmly.
6.
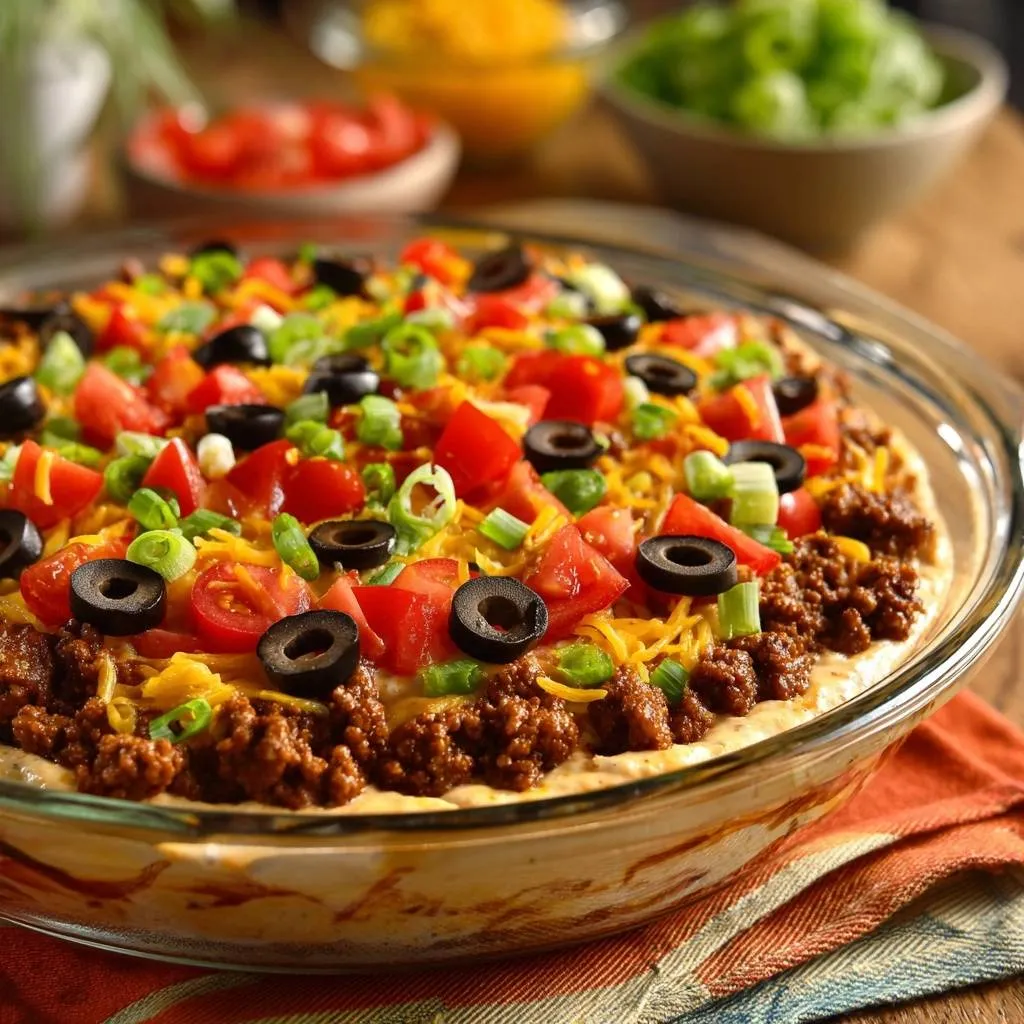
The Fresh Finish (Just Before Serving): About 15-30 minutes before you plan to serve, add your fresh toppings like shredded lettuce, diced tomatoes, sliced black olives, chopped green onions, or cilantro. This ensures they remain crisp and vibrant, adding the perfect textural contrast without introducing premature moisture.
Elevating Your Taco Dip Experience: Tips for Success & Serving
Beyond the fundamental anti-soggy methods, a few extra tips can truly elevate your taco dip from good to legendary.
*
Make Ahead Mastery: For maximum convenience, prepare all the base layers (cream cheese, meat/beans, salsa, cheese) up to 24 hours in advance. Cover tightly with plastic wrap and refrigerate. Add the fresh, moisture-rich toppings only just before serving to maintain their crispness and prevent sogginess. This strategy ensures you’re not rushing at party time and your dip is perfectly set.
*
Chip Choice Matters: A structurally sound dip deserves an equally sturdy vehicle. Opt for thick, robust tortilla chips that can handle the weight and texture of your layered creation without breaking. Scooped chips are also excellent for capturing all the layers.
*
Beyond the Basics: Don't shy away from creative toppings! Consider a sprinkle of cotija cheese, a drizzle of hot sauce, finely chopped red onion (marinated in lime juice to soften), grilled corn kernels, or even a dollop of fresh guacamole (added at the last minute!). For more intricate layering and flavor combinations, explore resources like the
Ultimate Taco Dip Guide: Layering Secrets for Firm, Flavorful Fun.
*
Serving Temperature: While assembly requires cool ingredients, serving your dip slightly chilled (not ice-cold) often brings out the best flavors and maintains its firmness. Allow it to sit out for about 10-15 minutes before serving if it's been in the fridge for a long time.
*
Storage: Any leftover dip should be covered and refrigerated promptly. While the anti-soggy method extends its life, fresh toppings will inevitably start to break down over time. For best quality, consume within 1-2 days.
By adhering to these principles of careful ingredient selection, meticulous temperature control, and thoughtful layering, you can banish soggy taco dip to the realm of bad memories. Embrace the "Anti-Soggy Bottom" philosophy, and you'll consistently present a firm, flavorful, and visually stunning appetizer that will be the talk of every gathering. Get ready to receive compliments, as your perfectly crafted taco dip becomes the undisputed star of the show!